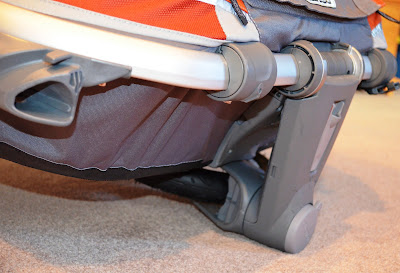
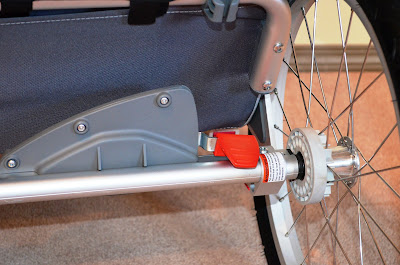
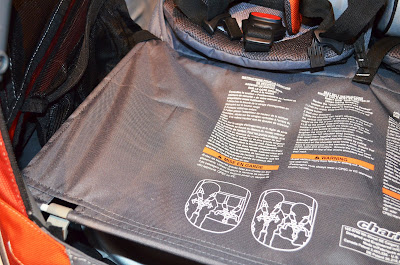
Just thought I would share some pictures of our new Chariot Chinook. When I was looking to purchase it I found very little info on the Chinook online other than what is on the Chariot website.
I do plan to add some descriptions to the pictures as well as some more pictures of it in action once it warms up a bit here.
Feel free to comment or ask questions!
View Part 1 - View Part 2

Above you can see the little latch which reclines the seat. Below is a picture of the seats in the reclining position.
I do plan to add some descriptions to the pictures as well as some more pictures of it in action once it warms up a bit here.
Feel free to comment or ask questions!
View Part 1 - View Part 2

Above you can see the little latch which reclines the seat. Below is a picture of the seats in the reclining position.

With the chariot in reclining position and the back weather cover rolled back you can see perfectly into the chariot from above.

As you can see in the picture below, the seat height is approximatly 23 inches.
The seats with that bottom floor part (really don't know what to call it) in place.

The seats without the baby supporter padding in place. They harness seems to be really easy to adjust.
The seat pieces removed. The bottom of the seat removes easily which will be very nice come time to clean it.

There you have a quick review in pictures. Once it warms up and our 3 feet of snow melts I plan to be outside trying it out. I also hope to take some pictures of the bag as well as the car seat adaptor that comes with it. For now I hope that helps for anyone who is looking to purchase the Chariot Chinook 2 but can not go into a store to see it. If you would like anymore details or pictures please leave a comment. Thanks!
View Part 1 - View Part 2


